Pages

Sunday, December 5, 2010

And we're back...

Chicken Tortilla Soup with Roasted Poblano Peppers

Apologies loyal readers - mea culpa for my absence. You see, I've been a little busy the last month and really haven't had the time to cook and/or write much.

I have a pretty terrific excuse though...

Back on November 5th the Lady and I welcomed our first son to the world! Hooray!!

The Little Man arrived a few weeks ahead of schedule and was a welcome surprise. Everyone is doing great and we've gotten into a pretty solid routine. With said routine in place I've been able to get back into the kitchen and what better way to spend a freezing Sunday night then with the family and some fiery chicken tortilla soup with roasted poblano peppers.

I used this recipe but made some of my own additions... recipe

You'll need:

half rotisserie chicken, shredded
1 onion, chopped
few cloves garlic, minced
2 tps chili powder
1 tps oregano
28 oz can of crushed tomatoes
10.5 oz of chicken stock
1 1/4 cup water
1 can corn
1 small can diced chilies
1 can black beans, drained and rinsed
crushed tortilla chips
diced avocado
shredded cheese (monterey jack or cheddar)
1/4 cup fresh cilantro
2 jalapenos, minced
2 poblano peppers, roasted and diced
2-3 tbs olive oil
salt and pepper to taste
sour cream

First you need to roast the poblano peppers. This is very easy - set your broiler on high and put the peppers on a foil-lined cookie sheet. Char each side of the pepper until black and then set in a bowl and cover with plastic wrap. After about five minutes remove the peppers, peel the charred skin off, seed and dice. Set aside.


Saute the chopped onions, jalapenos, garlic and poblano peppers in olive oil until the onions are translucent. Season with the chili powder, oregano and S&P to taste. Add crushed tomatoes, chicken stock and water and bring to a boil. Reduce to a simmer for 10 minutes.


Add the black beans, corn, chopped cilantro, canned chilies and shredded chicken. Simmer for another 10-15 minutes.


Serve with crushed tortilla chips, sour cream, cheese and diced avocados.


Hope this treats you right one of these cold winter nights and hopefully I'll be able to keep up with the blog while loving life with the Lady and the Little Man.

Cheers everyone!

Saturday, October 30, 2010

A Quiet Friday Night

Spiced Applesauce Cake

If any of you are dog people you know that when it comes time to a weekend away there's more to it than packing your bags and hopping in the car. There's usually only a few options for a doggy-sitter and if those don't work out it's usually off to doggy-camp for a couple nights which less than ideal in many ways.

If you happen to be in sales, you know it takes more than a couple of kick ass labs to lure someone into a night at Casa de Goody - in this case, outright bribery and the excuse of a play date with Rufus the Wonder Mutt.

So, this one's for you CB - a truly tasty treat from a blog I was introduced to last week, the smitten kitchen. Check out this great blog for lots of information on cooking, baking, blogging and lots more... here's the link

This recipe is very simple and as mentioned in my bread making post, I'm not the most adept baker in the world. So this time I brought in the all-star baker... The Lady!

We started off by pre-heating the oven to 350F and buttering a 8x8 baking pan.

Next we mixed the dry ingredients, the flour, baking soda, baking powder, cinnamon, salt, ground ginger and cloves, and set aside.

Then came the "wet" ingredients - in a separate bowl and with an electric mixer, we mixed together the butter (room temp), brown sugar and vanilla. After a few minutes on high and when the mixture became smooth we added the eggs, mixing them in one at a time. Next came the applesauce.


After the applesauce was mixed in we added the flour mixture. We added it about a 1/4 at a time to make sure we got it thoroughly mixed.


The batter, which was really tasty (you probably shouldn't eat much of this raw b/c of the eggs but I live life on the edge sometimes...) then goes into the pan and into the oven for 35-40 minutes or until a toothpick, or in our case, a steak knife inserted into the cake comes out clean.


The frosting was super easy - the cream cheese, butter and vanilla get beaten together for a couple minutes on high until creamy. Then sift in the confection sugar and mix well. Now this, on the other hand, can be licked right out of the bowl if you are so inclined. We managed kept our heads out of the bowl but the mixing paddles were somehow very clean before they got to the sink ;)


Let the cake completely cool (the worst part... seriously, it feels like forever) and turn it out onto a plate or cake platter. Frost to your liking (let's be honest... liberally) and there you have it.


This cake is really tasty and came out 100x's better than my whole what bread.


So remember readers, if you're ever looking for someone to kick it with your pups while you getaway for a weekend, don't forget, leverage is a very handy sales pitch!

PS - I'm working on my photography and apologize for the composition/lighting in some of these shots - the cake really doesn't have a yellow tinge to it... any tips are greatly appreciated. I may need to bite bullet and get an external flash...

Up Next: Hmmmmmm...

Thursday, October 28, 2010

Pre Show Jitters!

Easy Chicken Marsala

It's Thursday night and for the past 24 hours I've been trying to really occupy my mind. You see, I have a big weekend ahead and its times like these I really have to focus on the details of the day as not to get completely derailed by the excitement.

After much deliberating I pulled the trigger on a weekend in Atlantic City. Typically such a decision wouldn't necessitate such a long list of pros and cons... unless of course the weekend being deliberated is Halloween and unless of course, my favorite band happens to be playing in Atlantic City... that's right, Phish is playing in AC, capping off the weekend with their traditional 3 set Halloween show where they cover another bands album cover to cover (rumor is this year is gonna be a real treat).

Ordinarily this wouldn't be an issue, in fact, there would have been zero deliberation. There would have been much pre-planning, a crew of my oldest and best friends would have been assembled and no doubt, complete craziness would ensue the minute we checked-in to our hotel rooms. But this year is different. This year I'm on call.

As many of you know, my first son/daughter is expected in late November (HOORAY!). And as many of you also know, at this stage of the game, this kid could decide to come at any minute. As of right now, it doesn't appear that this weekend is that minute, but I will have to "behave" in the event the party get's moved from AC to Abington Hospital.

With that said, what better way to occupy my mind than a little mid-week cooking. In my opinion mid-week cooking should be quick and easy and this meal fits both categories like a glove.

Here's my take on Chicken Marsala:

3-4 chicken breasts, pounded thin and even
1 packet of mushrooms (I usually prefer button or a mix of shitake/wild mushrooms)
1/4 cup sherry
1/2 cup marsala wine
1 cup flour
2 tablespoons oregano
salt and pepper to taste
2-3 tablespoons of flour slurry (mix of flour and water)

Start by pounding the chicken breasts out between plastic wrap, making certain they are of an even thickness. You're going for thinner than thicker here - think cutlet.


Mix flour, oregano, salt and pepper on a plate and coat both sides of the chicken in flour shaking off the excess.


Heat a skillet with olive oil and butter (Why both? You're increasing the smoke point and allowing the fat, a.k.a the butter/oil, to rise to a higher temperature without smoking) and once melted add the chicken.


After a few minutes and once golden brown flip the chicken and add the mushrooms, sherry and marsala wine. Once all the liquid and mushrooms are incorporated cover the skillet and drop the heat to low/simmer. After 5 minutes flip the chicken and cover for another 5 minutes.

Remove lid and stir in the slurry to thicken the sauce. Use your discretion on the slurry to make the sauce as thin or thick as you prefer.


Voila - an easy and tasty weekday meal. I microwaved a bag of rice to serve alongside but pasta or other veggies would work too.


PS - for dessert I had a bottle (okay, two) of Avery, Jubilation. Today was the first trip to the distributor for my new beer club and it was AWESOME. Eight of us each bought a case of beer and then all exchanged bottles until we had three of each kind. Both me and my liver are very excited to try the rest - stay tuned for some upcoming beer reviews!s


Up Next:

Applesauce Spice Cake

Tuesday, October 26, 2010

Monday Night Quickie

Whole Wheat Penne with Mild Italian Sausage and Lemon-Artichoke Pesto

Most people I know dread Mondays. I'm not sure why. I'm indifferent to Mondays but loathe Wednesdays. Most people ask, "How can you hate Wednesday, it's hump day?"

To which I respond, "Please don't call it hump day."

I hate Wednesdays because it's limbo - you're the furthest point, west or east, from the weekend and while we could debate this ad nauseam you'll just have to trust me on this - Wednesdays blow.

But I digress, Monday is typically a busy day for me (at least conceptually) and after spending most weekends cooking something that takes a little extra effort I like to try and make Monday night relatively pain free.

That said, this recipe is an original and can be on your plate in twenty minutes if you’re fast, twenty-five minutes if you're dogs are constantly in the way (why do they always have to stand right by the stove?).

Okay, you caught me...

I steal the "lemon artichoke pesto" part from a jar but like I said, Monday is all about ease and I wasn't about to whip up my own pesto (lazy I know).

Here's what you'll need:

3/4 lb mild Italian sausage, casing removed
half small sweet onion, diced
2 cloves garlic, minced
2 tablespoons olive oil
1/4 cup light cream
a few glugs of white wine (I use a cheap chardonnay)
a few glugs of chicken stock
small handful of frozen peas
1 box whole wheat penne (I use Barilla)
1/4-1/2 jar of lemon-artichoke pesto (Turtle Dove is the brand I used)
dash of red pepper flakes
salt & pepper to taste
1/4 cup parmesan cheese

Before you get started on the sauce get your pasta water going, add the penne and some sea salt once it comes to a boil. The pasta needs about 8 minutes and don't forget to stir it occasionally so it doesn't stick. Strain and reserve a 1/4 cup of the pasta water once the pasta is al dente.

Remove the casings on the sausages and get them into a hot skillet with olive oil. Break apart the sausage with a wooden spoon or spatula until the sausage resembles ground chuck. Once completely browned, removed from the skillet and set to the side.


If there is an excess of fat from the sausage feel free to discard SOME of it reserving a couple tablespoons to sauté the garlic and onions (seriously people, this is pork fat we're talking about and it's important to people like me - keep your health conscious thoughts to yourself).

Hit the onions and garlic with a couple dashes of red pepper flakes for a little heat and then reduce the stove to medium-low and let the onions sweat it out for a few minutes. Once translucent de-glaze the pan with a little white wine and/or chicken stock. I use both for flavor but you can probably get away with either if you don't have both on hand.

Once you have all the brown bits from the sausage incorporated into the onions and garlic add the pesto and cream. Stir to mix and drop the heat to low. Add the sausage and peas and cook until heated through (no more than a few minutes).


Add the strained pasta, the pasta water and the parmesan cheese to the skillet and stir.

And that's all she wrote.


Tasty, quick and easy - just as a Monday night should be.

Up next:

TBD


Monday, October 25, 2010

The Comfort Zone

Braised Beef Brisket with Garlic Rosemary Roast Potatoes and Roasted Caramelized Red Onions

After the experiment that was bread making I thought it may be best to get back into my comfort zone with an extra emphasis on the word comfort.

Comfort food is getting a lot of play these days and in my opinion, deservedly so. Without getting all political or ideological, I think the recent resurgence of comfort food is directly correlated to the trying economic times we're living through.

Prior to the economic collapse there was a flight to extravagance in the culinary world perpetuated by the idea that the golden age was a never ending phenomenon. Restaurants by Mina, Boulud, Jean Georges, Ripert, Robuchon, Keller and all the other elites were no longer a special treat for many - in fact, they had become more trendy than exclusive, catering to a class of nouveau rich. In Philadelphia alone we saw four ultra-high end steak houses open within a five mile radius all in one year's time. One of restaurants was even rumored to cost $12.5 million dollars(!) - little did they know the recession was right around the corner.

At the time the trend was all white truffles, foie gras, kobe beef and toro tartare to name a few (sometimes even on one sandwich... see Barclay Prime's $100.00 cheese steak for details). Fast forward from 2006 to 2010 and now the trend is all about how to dress up meatloaf, fried chicken and tacos so that we think we're eating something completely new and unique. It's this movement that is redefining local dives, gastro-pubs and high end restaurants alike, pushing chefs to create menus that transform "Leave it to Beaver" classics into "Modern Family" masterpieces.

With all that in mind (okay you got me... the comfort food vs. economy equation was calculated post meal) and with a cool fall evening at hand it was brisket time.

The recipe comes from Tyler Florence as I had just watched an episode of "Tyler's Ultimate" last Saturday morning. A typical weekend morning starts when my furry alarm clocks come sniffing around the bed for breakfast at 7AM. After feeding the beasts I usually lie in bed and flip back and forth between ESPN and the Food Network. It's here that I usually get to re-live some sort of Philly sports debacle from the previous day and decide what I'm cooking in the coming nights.

Here's the recipe I saw Saturday morning.

I started off by seasoning the brisket with salt, pepper and olive oil - easy enough.

Once seasoned it was into the dutch oven for a quick sear on both sides. The goal here is to form a crust that will seal and lock in the juices. You're going for a dark brown color because as noted by Joshua Stokes on The Huffington Post, brown tastes better.


After searing I removed the brisket and let it rest on the side while I browned the vegetables. Once browned, I added the tomatoes (I'm convinced that a higher end canned tomato does indeed yield better results - here I went with San Marzano), garlic, wine and herbs. Once incorporated I added the brisket back into the pot, covered it and placed it into a 350F oven for 3 hours. Let the waiting begin.

At the 2 hour mark I cut up some red and white potatoes and seasoned them with some olive oil, dried rosemary, garlic powder and salt/pepper. These went into a 425F oven for 45-50 minutes. This is a go to side dish of mine and is pretty hard to screw up - the key is to stir them ever 15-20 minutes so they get cooked on all sides - you're going for a nice brown golden brown exterior.


Simultaneous to the potatoes I gave another Tyler Florence dish a go, Caramelized Red Onions with Balsamic and Honey (recipe here). Cut an onion in half, drizzle with honey and a good aged balsamic, salt/pepper, a little butter on top and place them on a foil lined baking sheet. Toss them into the oven with the brisket at 350F for 40 minutes - super easy.


At the 3 hour mark everything was ready to come out of the oven.


I pulled the brisket onto a cutting board to rest for a few minutes and strained the pot, reserving the rich, beefy sauce that resulted from the braise. You want to reserve the thick, chunky sauce, not the fatty liquid.


The sauce went back into the pot and while Tyler Florence didn't do this, I think my next move elevated the recipe to from tasty to true comfort. I took the immersion blender for a run through the sauce and made the chunky sauce into a gravy-esque puree.

After slicing the brisket against the grain I plated some potatoes, half an onion and the sliced brisket with gravy.


Survey says???

Ding, ding, ding, ding... perfect.

The Lady and I stuffed ourselves and agreed that this effort trumped the bread making fiasco from earlier in the day.

So if you're looking for some comfort on a cool fall evening, look no further than your kitchen - it has all the answers.

Up next:

Whole Wheat Penne with Artichoke Lemon Pesto

Sunday, October 24, 2010

Simple Whole Wheat Bread

Day one, post one. It's 9:30am and I just finished wiping down the kitchen after cleaning up from Goody (me) vs. Whole Wheat Bread, Round I.

I've never made bread from scratch and I've never blogged.

Ok, both of those are kind of lies - the bread was made in a bread machine at my dad's when I was a kid so that really doesn't count.

As for the blog, I think I've created two blogs before and deleted both of them immediately after publishing... so that doesn't count either.

I picked bread for my first post for a few reasons:

  1. The art of bread making is old - really old. And in my 31 years all I've known about it is that there's an aisle at the store, or, in some cases an entire store, with bread for me to buy. Easy enough, right? But what really goes into making bread?
  2. I've been reading another blog (Kath Eats) and for some reason I'm hooked. I have no idea who this person is (although I suppose that's the deal with the blogging world) but I'm fascinated with her day to day ramblings, her recent move and her husband's opening of a Great Harvest Bread Company (enter the bread making idea).
  3. We just finished a kitchen remodel and I'm obsessed with cooking at the moment (more so than usual) and have been trying all sorts of new things...

So, with that in mind and Bob Dylan's "Highway 61" as a soundtrack it's onto the bread making....

I choose what seemed to be a simple and popular recipe to get my feet wet... the key word here being seemed.... I also selected whole wheat because it's healthy and tasty and well, it's not Wonder Bread. Here's the recipe.

I started at around 7:30 this AM and got myself organized:


After mixing the active yeast, water and honey I patiently waited for signs of life... moments passed and alas, the yeast started to bubble up. Game on.

I mixed in my bread flour about a cup and a half at a time, taking care to incorporate all of the dry ingredients. Here's what I came up with:


At this stage of the game the mixture took a little rest, about 30 minutes or so. Then I added the honey, oil and whole wheat flour.


Now it was time to turn it out and start the kneading. I have to admit, here's where I was a little nervous. While I love to cook, baking has never been a strong suit and is usually left to The Lady. But I was past the point of no return and it was all or nothing at this point.


I kneaded away for about 7-8 minutes until it pulled off the counter but was still still sticky to the touch. This required about another 2 cups of whole wheat flour to kept the dough the proper, elastic consistency.

After kneading it was time for another rest. I oiled up the ball of dough and dropped it in a ceramic bowl (actually the insert to my slow cooker since I don't have a large metal or ceramic bowl). I put in the oven which had been on warm for the last 20 minutes. I killed the heat and let it cool slightly before putting the dough in. This was all done to give it a warm place for hibernation.

After 60 minutes it had doubled in size and it was time to make the loaves. I separated the dough into two loaves (the recipe says it will make three but they seemed too small when I did this) and into the pans they went.


I set the oven to 350F and waited another 30 minutes to put them in. It took about this long for the dough to continue to rise about an inch above the loaf pans. Then, into the oven they went.


After 25 minutes the tops were golden brown and I pulled them out of the oven. After 5 minutes of resting I turned them out onto a cooling rack and brushed the tops with some melted butter.

I have to admit, I surprised myself, they actually looked GOOD!


I took the puppy for a quick run - it was an unreal 70 degree fall day and great to get out of the house. By the time I got home I was pretty starving and looking forward to a turkey sandwich and some Eagles football.

It's at this time I'd like to remind all you readers that I said I selected a recipe that seemed easy enough.

I cut into the bread and took the end piece off.... it was soft and moist with nice undertones of honey and had a nice spongy and springy crust. But wait, was it too moist? Too soft? Hmmm....

It was then the Lady said, "Is that raw dough in the middle?"

Oh... shit...

One loaf down... one to go.

The other loaf baked a little longer and turned out to actually be okay. In fact, as toast it's pretty damn tasty.

So, my adventure in bread making had its ups and downs. I learned some lessons, gained some confidence in dough making and now know where bread really comes from.

Next time I'll bake it a little longer and be a little more patient.

In the meantime, toast anyone?
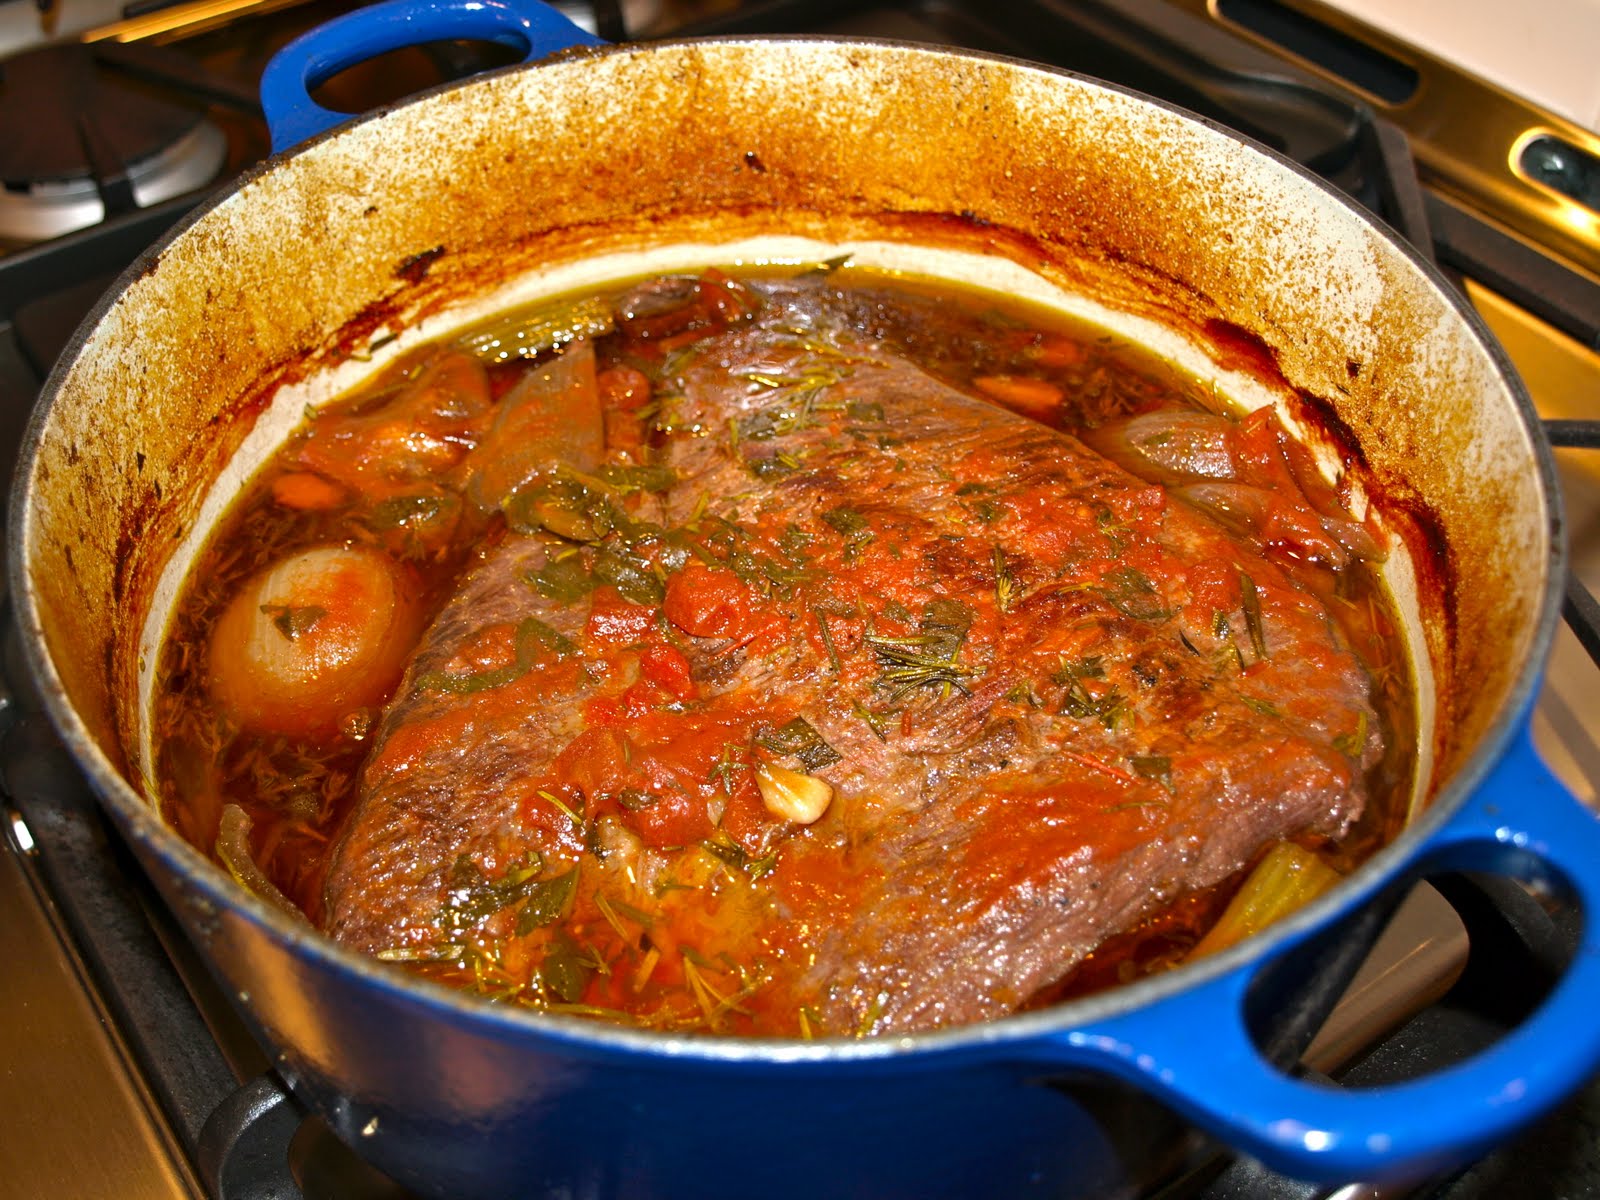
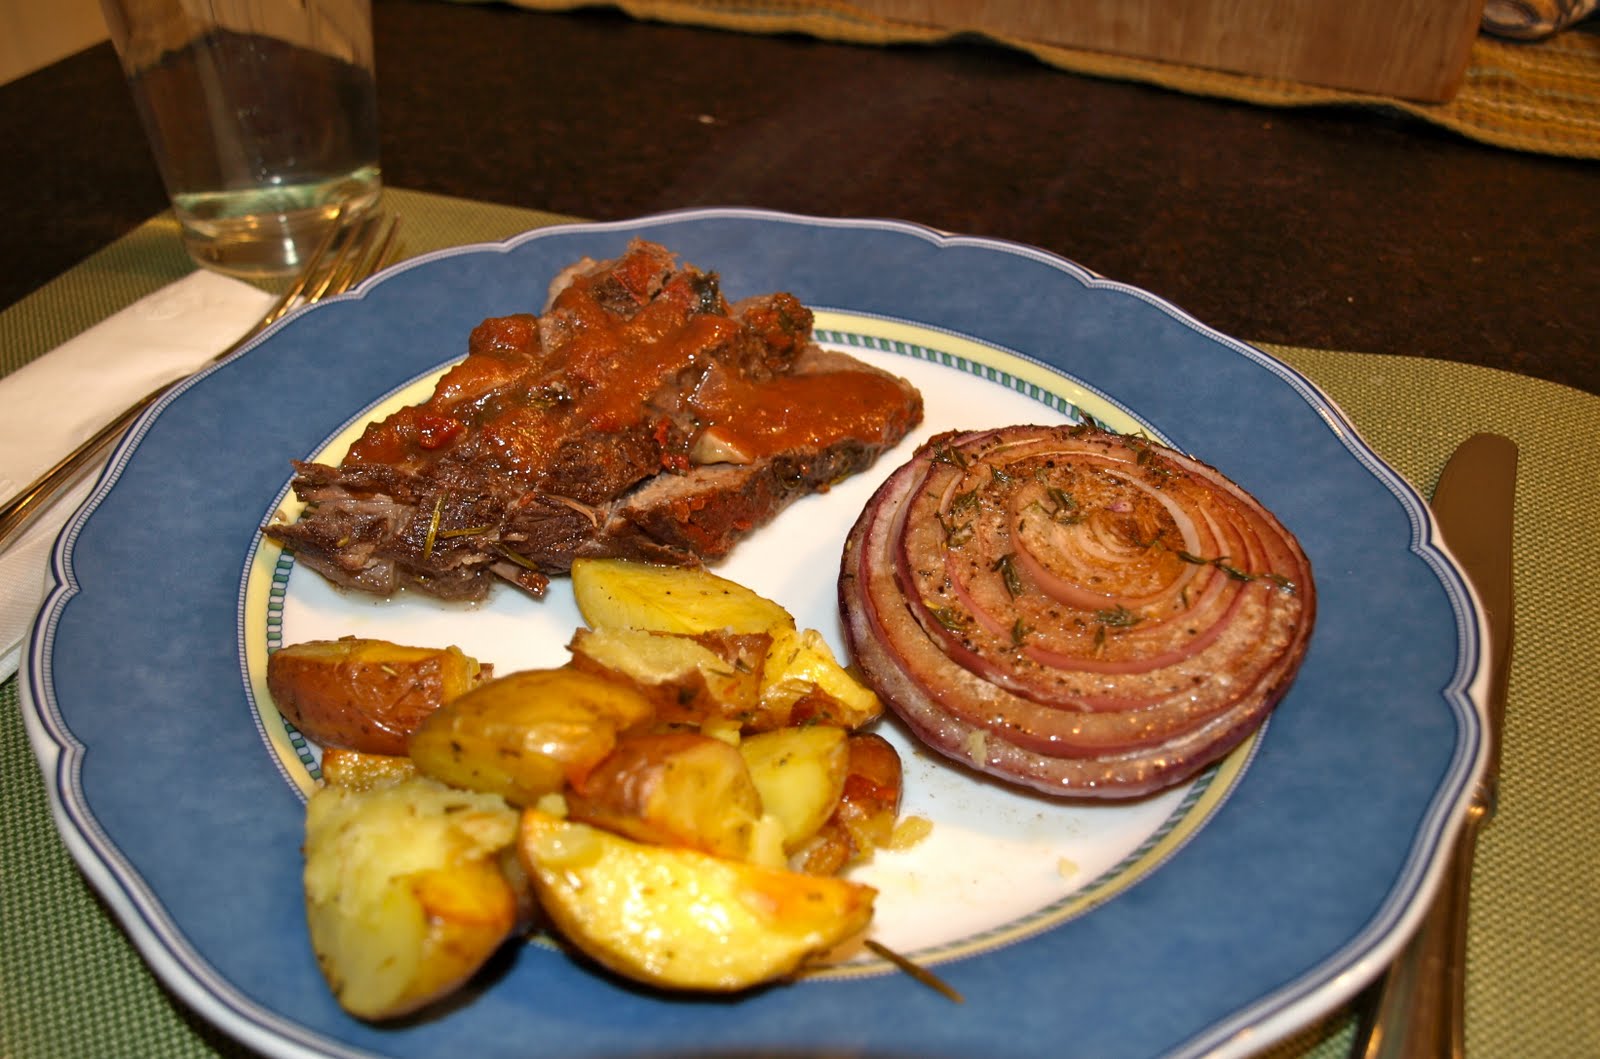
Next up:

Braised Beef Brisket, Caramelized Roasted Red Onions and Roasted Red/White Rosemary & Garlic Potatoes.

See you then.